 Joy of Creation.

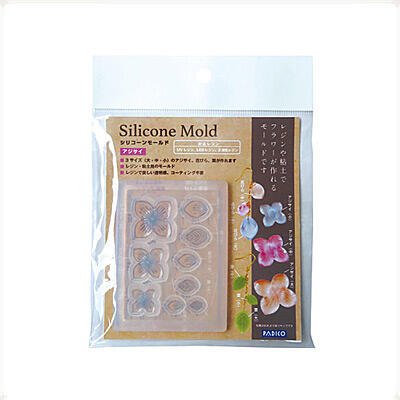
Silicone mold [Flower Cabochon]
#403288
JAN:4902498732882
Mold size:W80mm×H60mm×D10mm
Package size:W120mm×H155mm×D11mm
Net weight:24g
Gross weight:29g
Color:semitransparent
Material:Silicone rubber
Upper-temperature limit:200℃
Low-temperature limit:-50℃
Made in Japan
Release:July 3rd, 2020
1,200 JPY
Silicone flower mold - perfect item for resin craft with pure transparency.
3D flower shaped mold is available with this flower cabochon mold. Can be used as a clay mold.
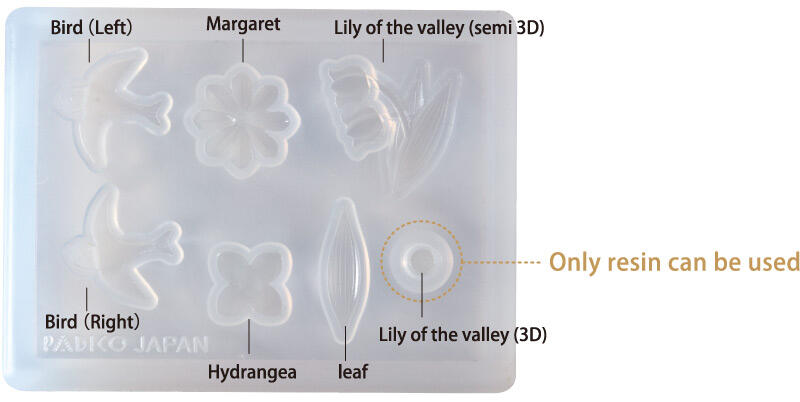
・3D & semi 3D shaped lilies of the valley, margaret, hydrangea, leaves, and birds.
・Use as a resin mold and as clay one.
・Beautiful resin surface without coating.
 How to Use
as a clay mold
- 1
Grease the mold with mold oil(#404125). It is okay with any modeling clay. Modena resin clay is used in the instruction.
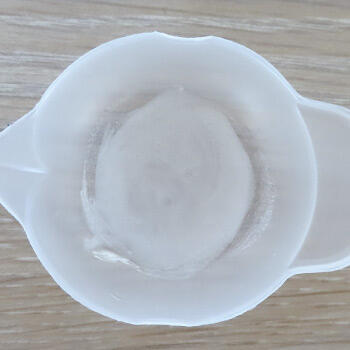
- 2
Take a proper amount of clay and put in the mold.
- 3

Press from the back and remove it from the mold.
- 4
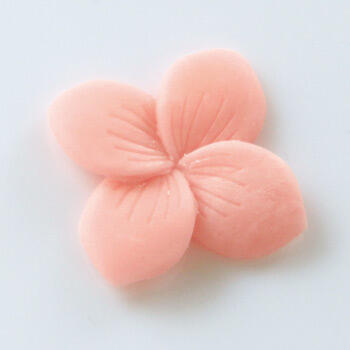
Make 4 petals and glue them as a flower.
as a resin mold
- 1
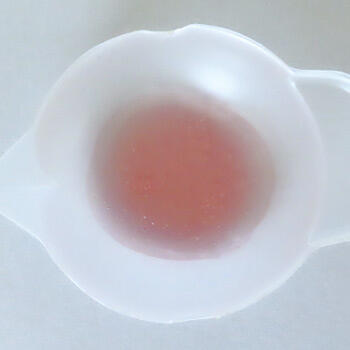
Make preferred colored resin. Salmon pink color is for this instruction.
- 2
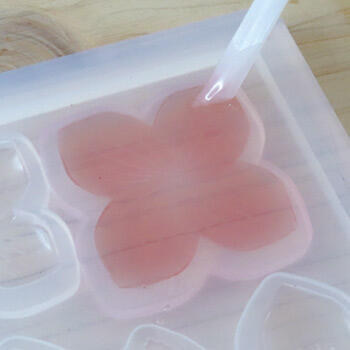
Pour the resin into the mold until it reaches the very limited to the top.
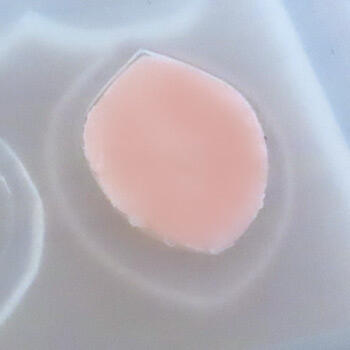
- 3
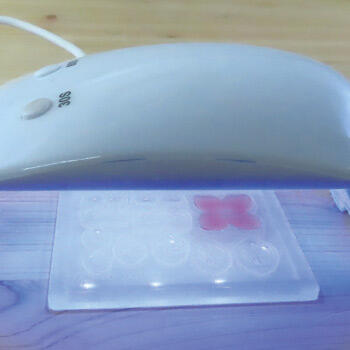
Cure it under UV-LED light.
- 4
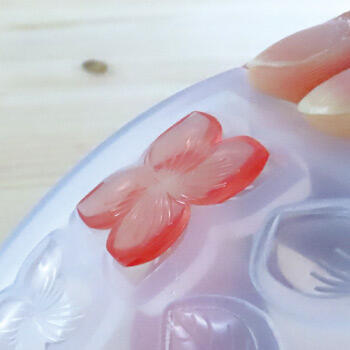
Cool down the mold and push the piece out.
The chemical reaction can generate heat, take care not to burn yourself.
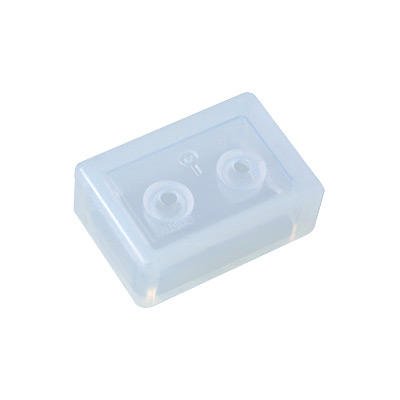
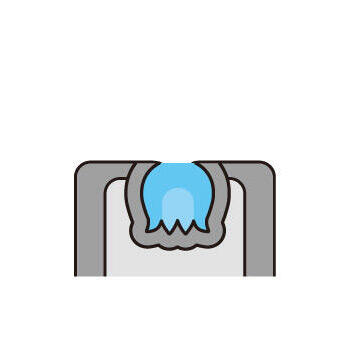
How to make a 3D lily of the valley
- 1
Make white color resin. Pearl white is used for this instruction.
- 2
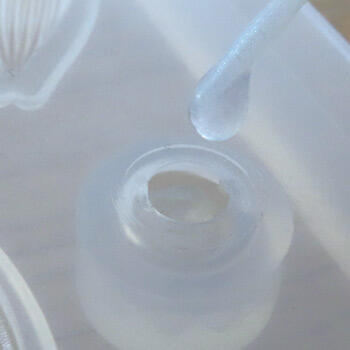
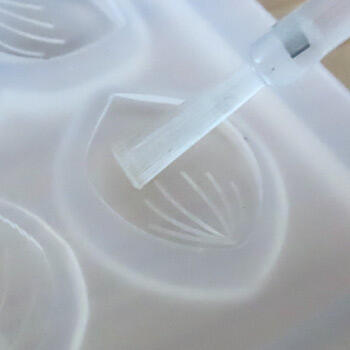
Put a fine drop of the resin into the 3D mold with a stick. Repeat it 3 times.
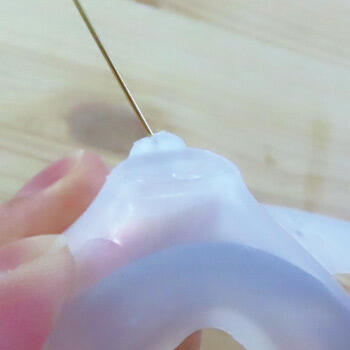
- 3
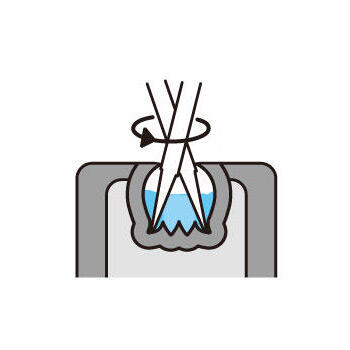
Stir it 10 times with a needle to let the resin reach to every edge in the mold.
- 4
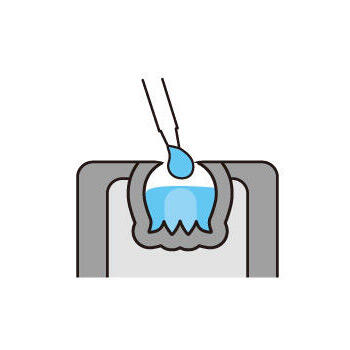
Fill the mold half-full with resin.
- 5
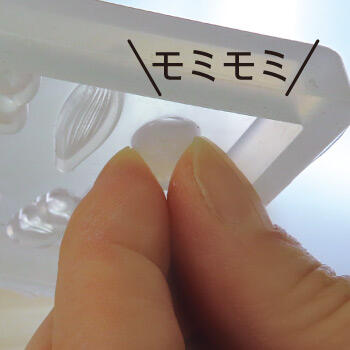
Pinch the mold with two fingers 10 times.
- 6
Fill the mold full with resin.
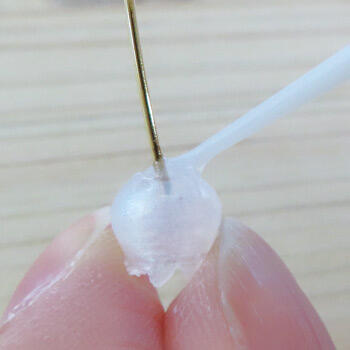
- 7
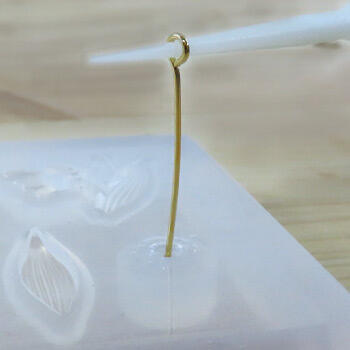
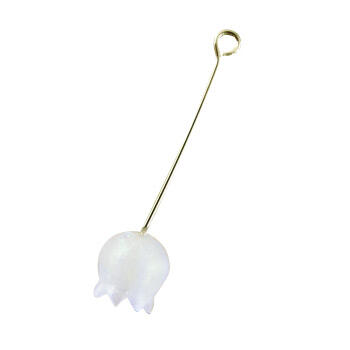
Set a 9 pin on a stick and dip it to the mold.
- 8
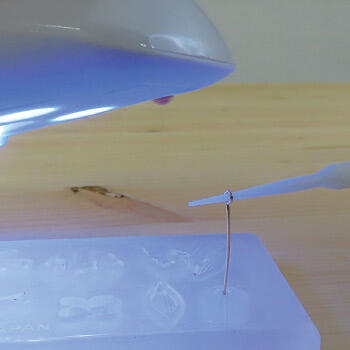
Cure the mold and make sure the pin is affixed.
- 9
Cool down the mold and push the piece out from the 3D mold.
- 10
Add a stick of the resin on a dimple around the pin and cure with UV-LED light.
- 11