 Joy of Creation.

Clear Board with Thermoplastic Line Mold
Clay Tools , Resin Supplies , Resin Tools
#403348
JAN:4902498733483
Size:Clear Board/W100mm×H150mm×D6mm
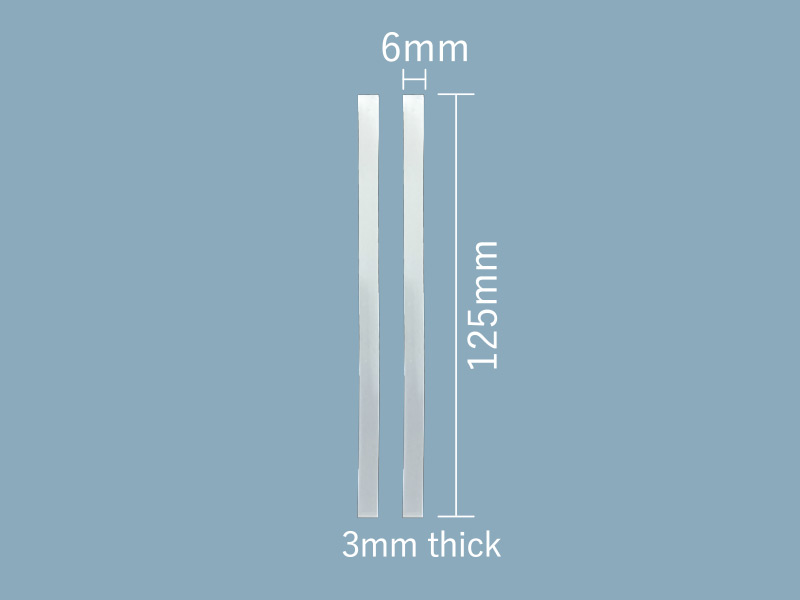
Line Mold/W6mm×H125mm×D3mm
Packaging size:W120mm×H185mm×D9mm
Contents:Clear Board x 1 piece, Line Mold x 2 pieces
Weight:70g(Board 58g, Line Mold 2g x 2 pcs)
Color:Transparent color
Materials:Thermosetting resin, Polycarbonate (back side of the clear board)
Upper-temperature limit of Clear Board:80℃
Low-temperature limit of Clear Board:-20℃
Operating temperature of Line Mold:30 to 50°C
Made in Japan
Release:June 24th, 2022
980 JPY
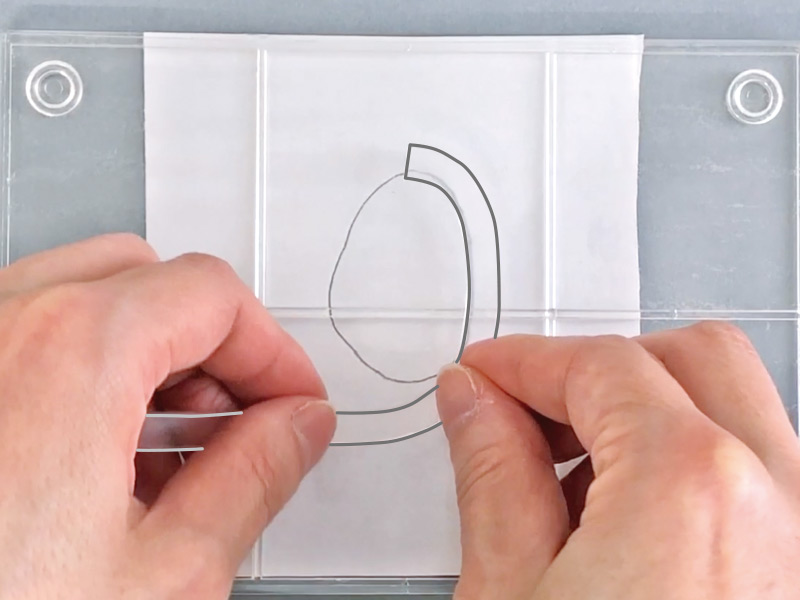
Place the heat-deformable mold named "Line Mold" on the clear board.
Create the desired shape of plates with resin or clay.
Clear Board Features
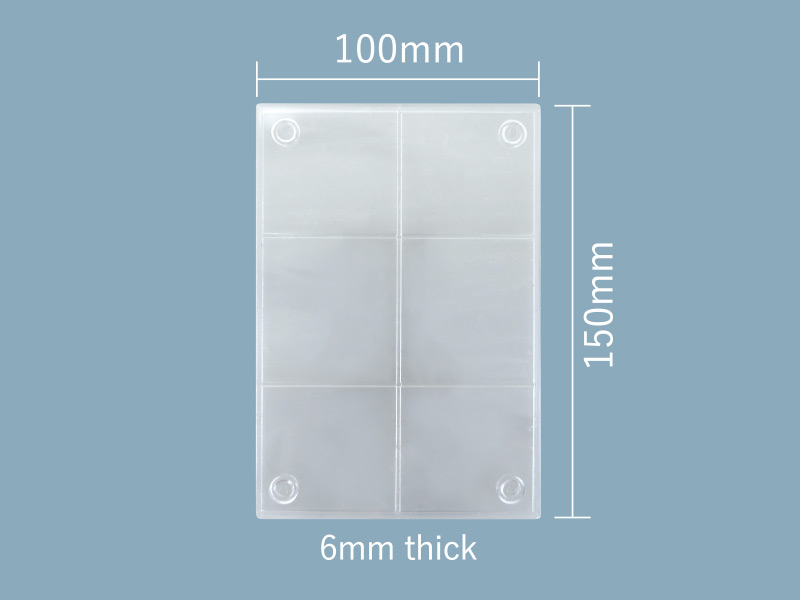
Minimize the curvature of the resin during curing on the boad.
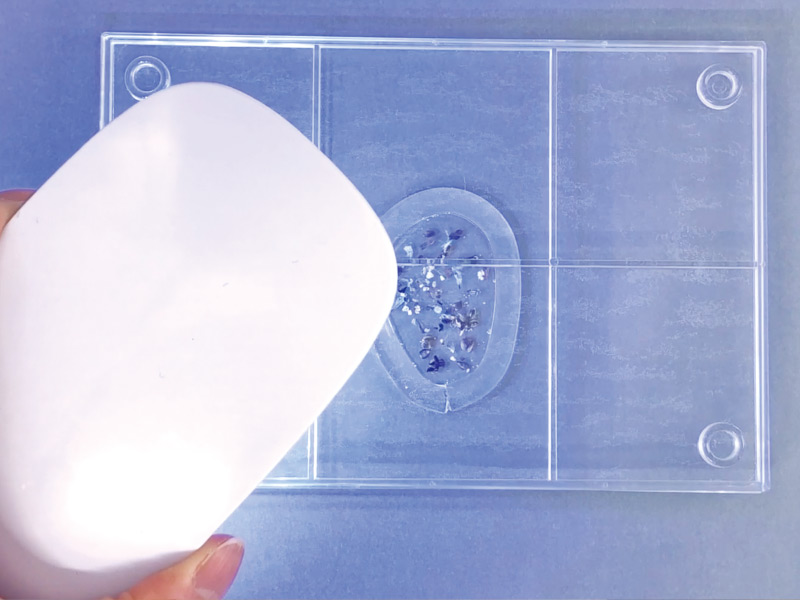
UV light can be exposed from the backside.
Easy to check the transparency of the resin piece on the board.
Clay does not easily stick to the board.
Line Mold Features
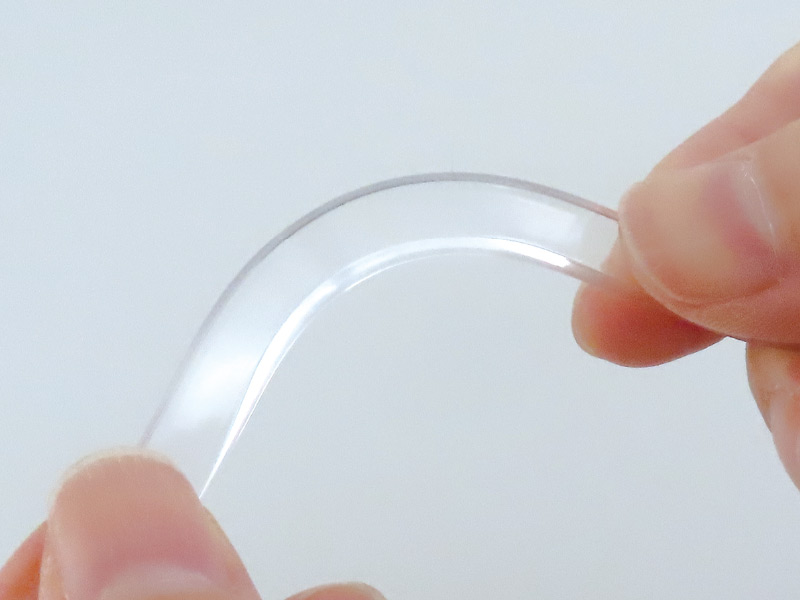
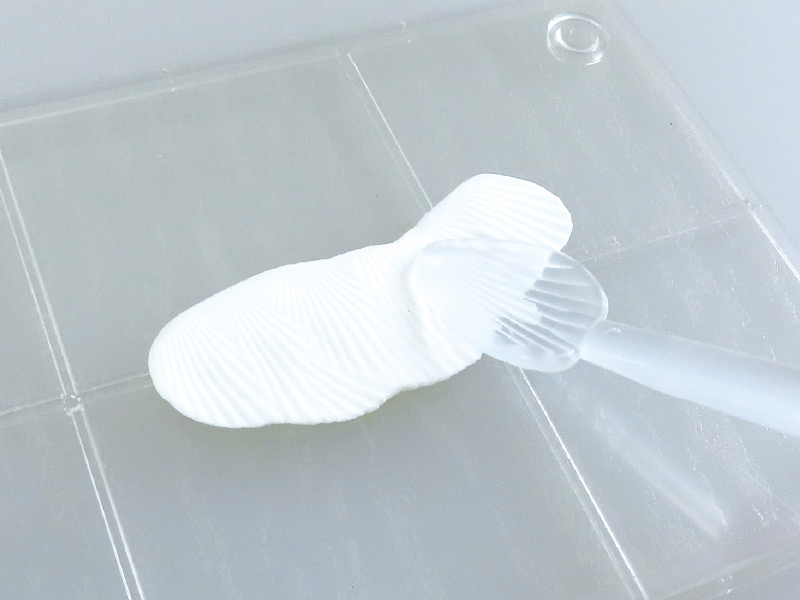
Soften when warmed with an embossing heat gun.
The line mold becomes softer and more adhesive when warmed.
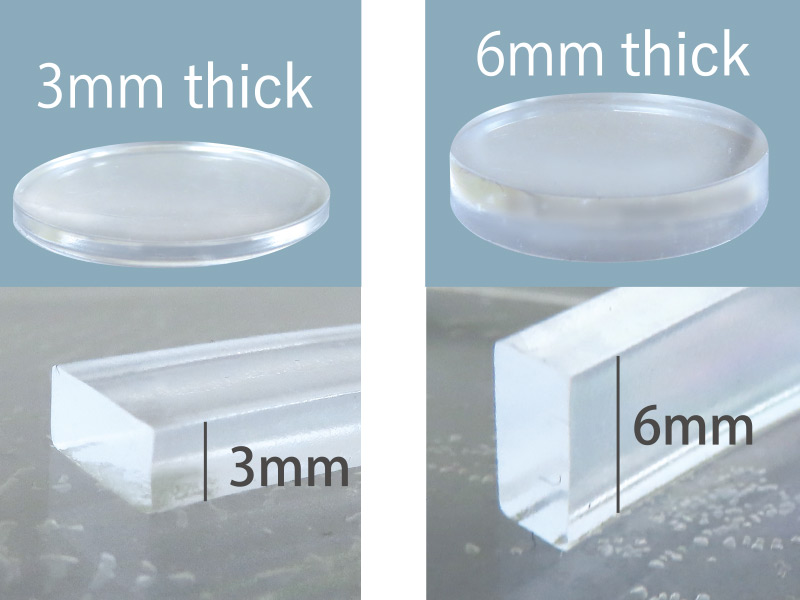
Become 3mm and 6mm thick resin molds.
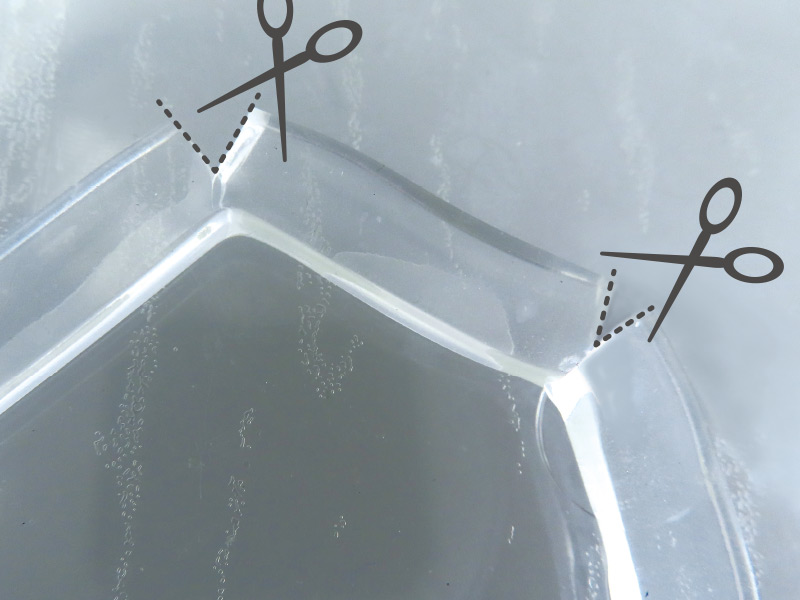
Make corners by cutting about half way through with scissors.
Learn more
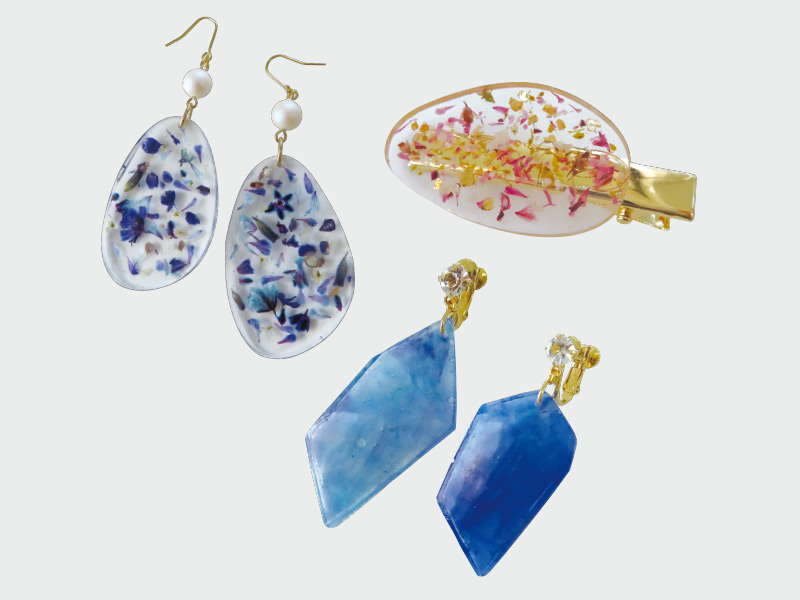
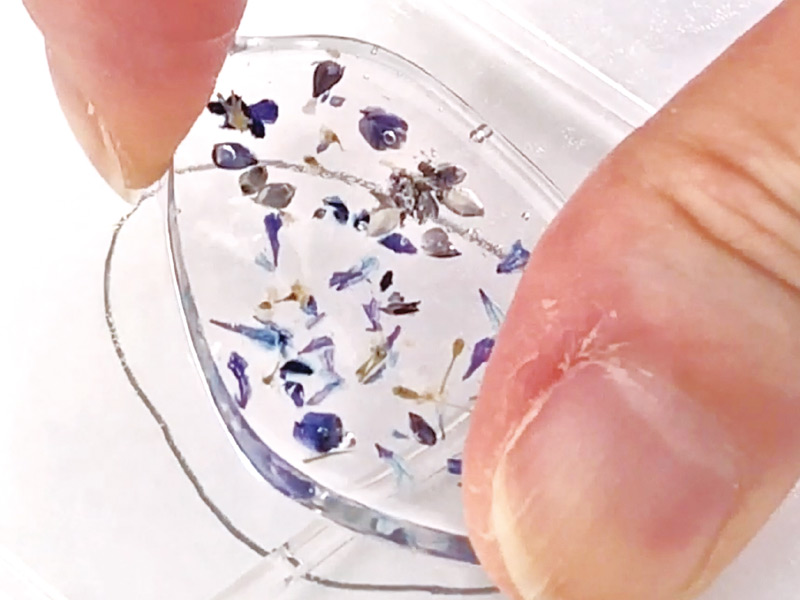
Free to create resin jewelrys with unique designs.
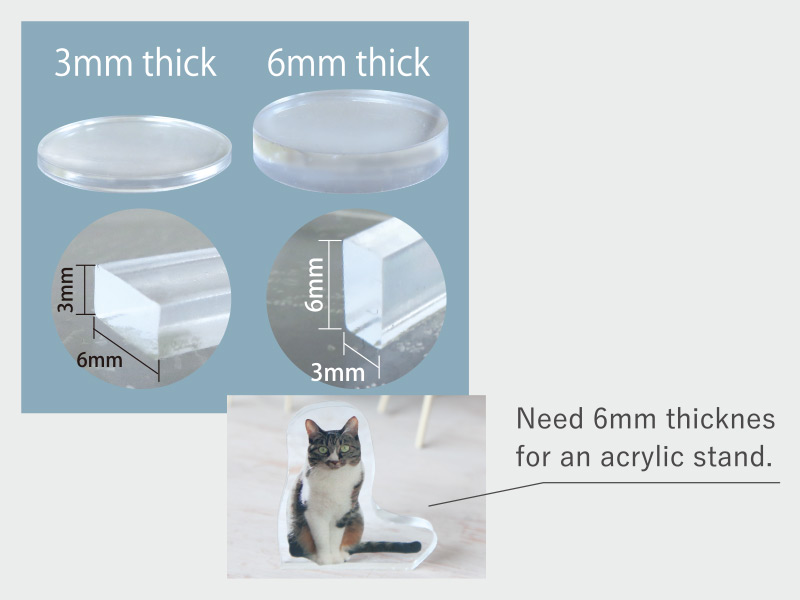
Resin plates in 2 thicknesses Thinner 3mm and thicker 6mm can be made by changing the position of the mold.
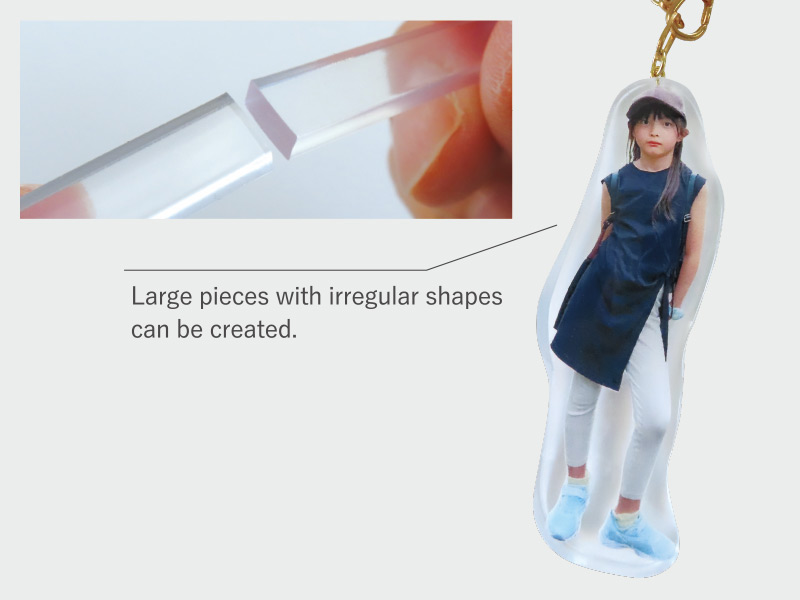
Warm up and connect the two into one for the large size resin piece Warm up & conect 2 line molds for a longer one with 8cm length.
Notes
・Line mold must be used on a clear board.
・Use an embossing heat gun or a dryer in low mode for heating line molds.
・Do not cure resin on the back of the clear board.
It will not come off the board.
・Available materials:One component UV-LED Resin, 2 epoxy resins, and various clays
・If it gets dirty or the adhesion becomes weak, wipe the surface with a cleaner or wash it gently in water with a mild detergent. Dry it completely.
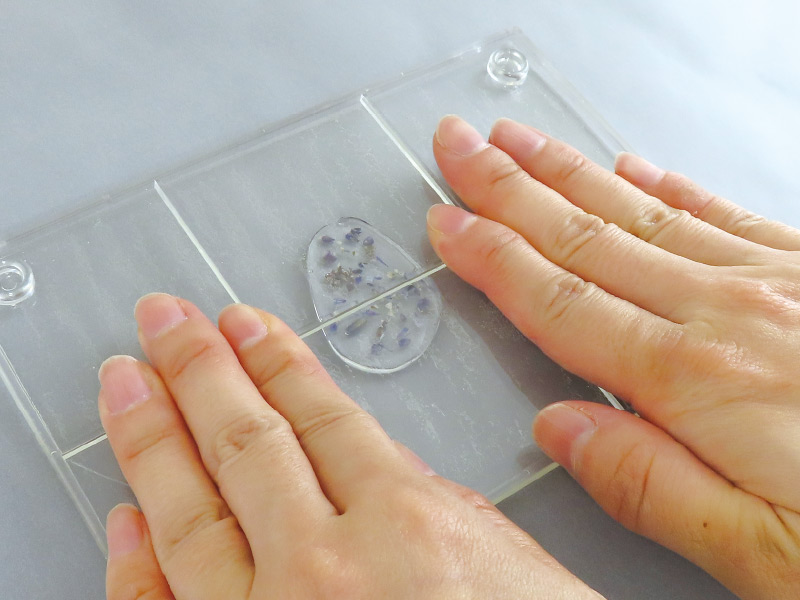
 How to Use
Make resin plates in any shape you like.
- 1
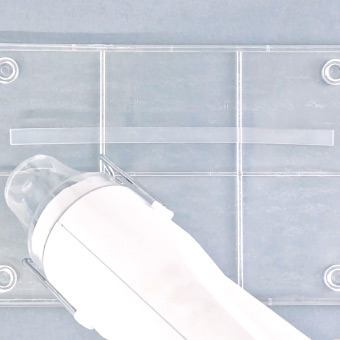
Warm the line mold with an embossing heat gun or a hair dryer.
- 2
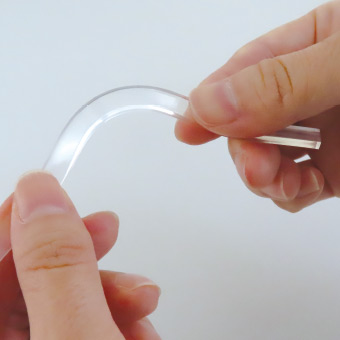
The line mold becomes softer and more adhesive when warmed.
- 3
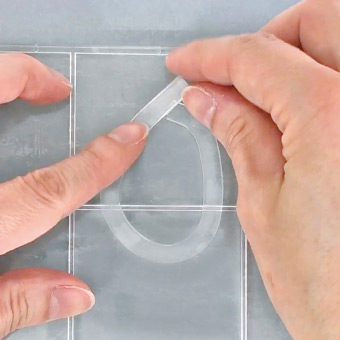
Shape the mold into the desired shape and attach it to a clear board.
- 4
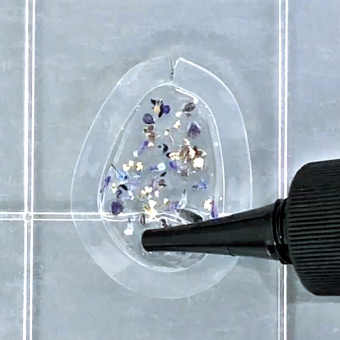
Pour the resin into the mold for resin jewelry.